Vehicles and vehicle groups
In short: FleetOS keeps a master inventory of your fleet vehicles — added one at a time or in bulk via CSV — and lets you organize them into vehicle groups for fleet segmentation. Assign an RFID card to a vehicle (instead of a driver) for pool cars that anyone on your team can use.
Adding a vehicle
-
In the sidebar, go to Vehicles and select Add vehicle.
-
Enter the VIN (11–17 characters; letters I, O, and Q aren't allowed, to avoid confusion with 1 and 0), Make, Model, Type (Van, Bus, Truck, or Car), and Status (Active, Inactive, Maintenance, or Decommissioned). License plate and Year are optional.
-
Select Create vehicle.
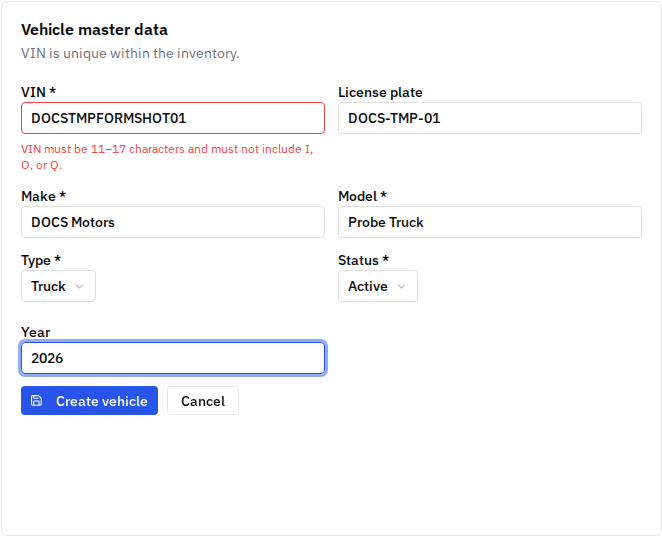
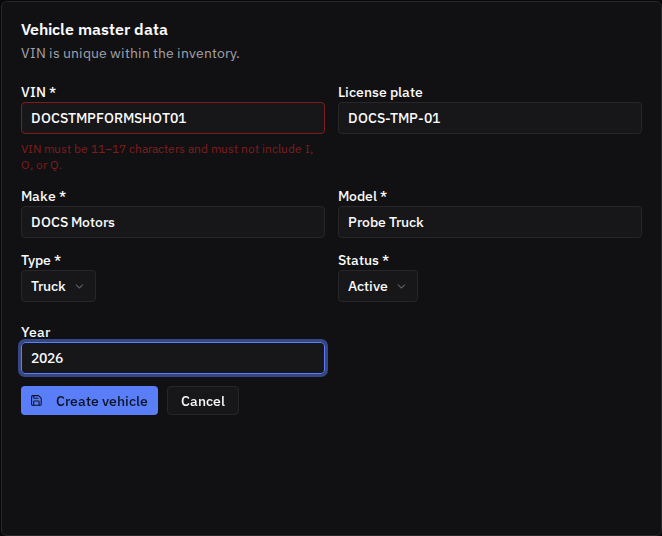
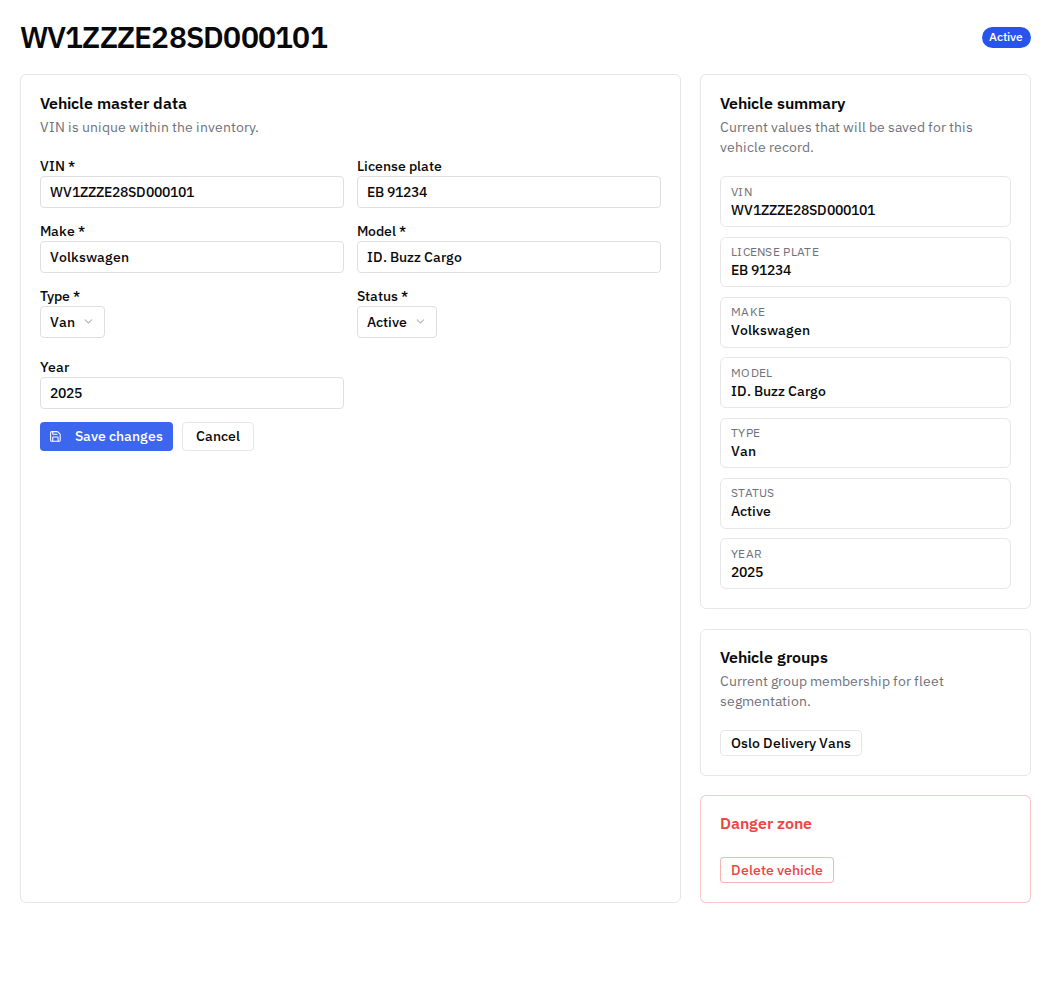
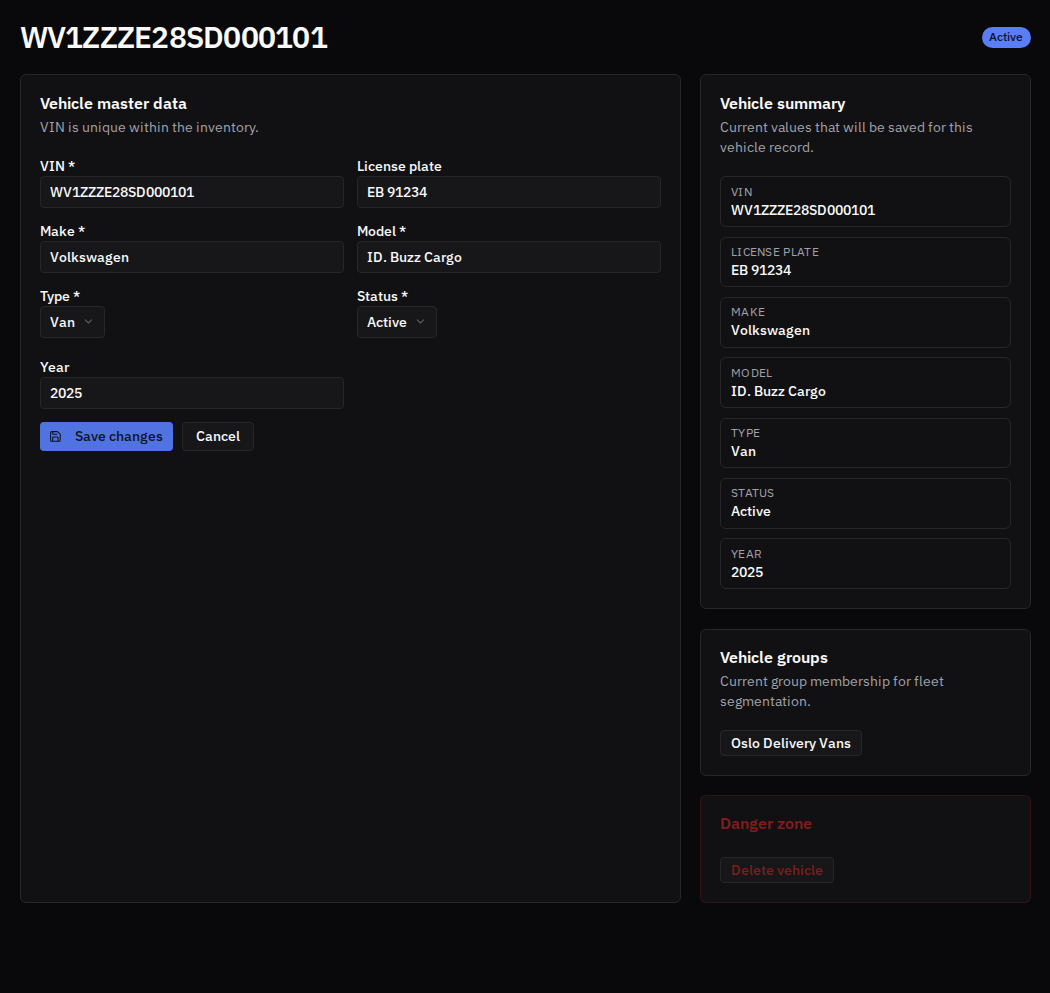
You can edit any of these fields later from the vehicle's own page, which also shows the vehicle's current group (read-only) and its danger zone.
Adding vehicles in bulk with a CSV file
-
On the Vehicles page, select Import CSV.
-
Download the template — it has the columns
vin, license_plate, make, model, type, year, status. VIN, make, model, type, and status are required on every row. -
Upload your prepared file.
-
Review the server-validated preview — rows are categorized as New vehicle, Update, No change, or Error — and select Import valid rows.
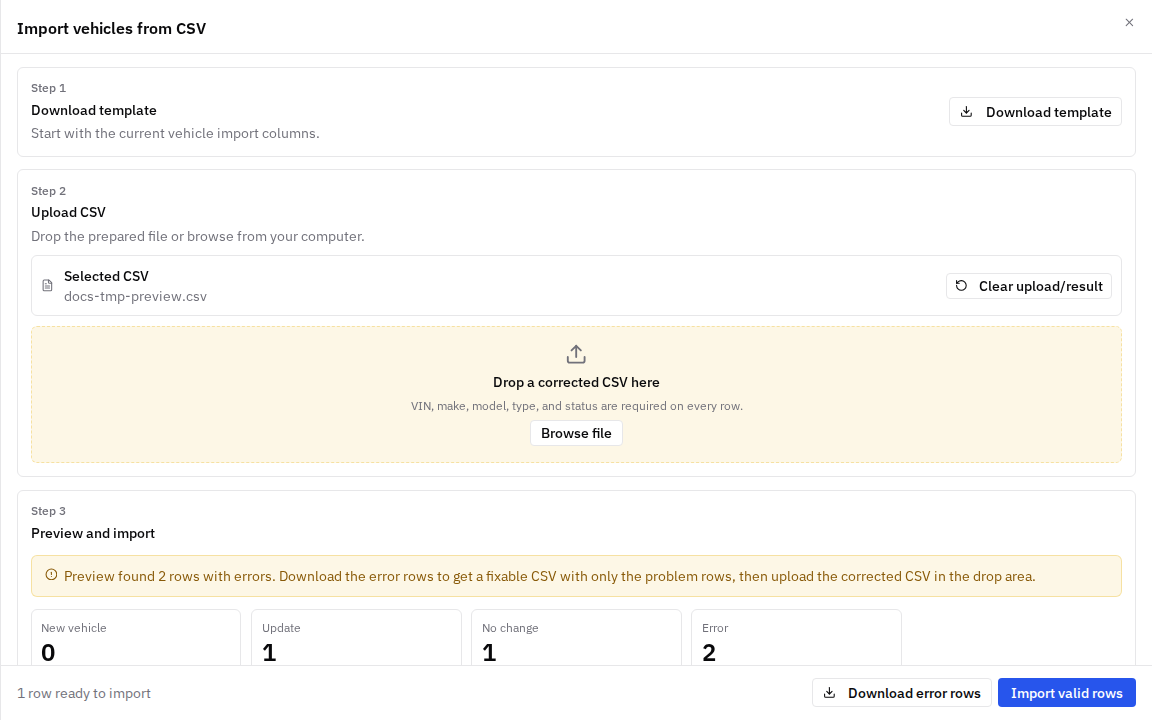
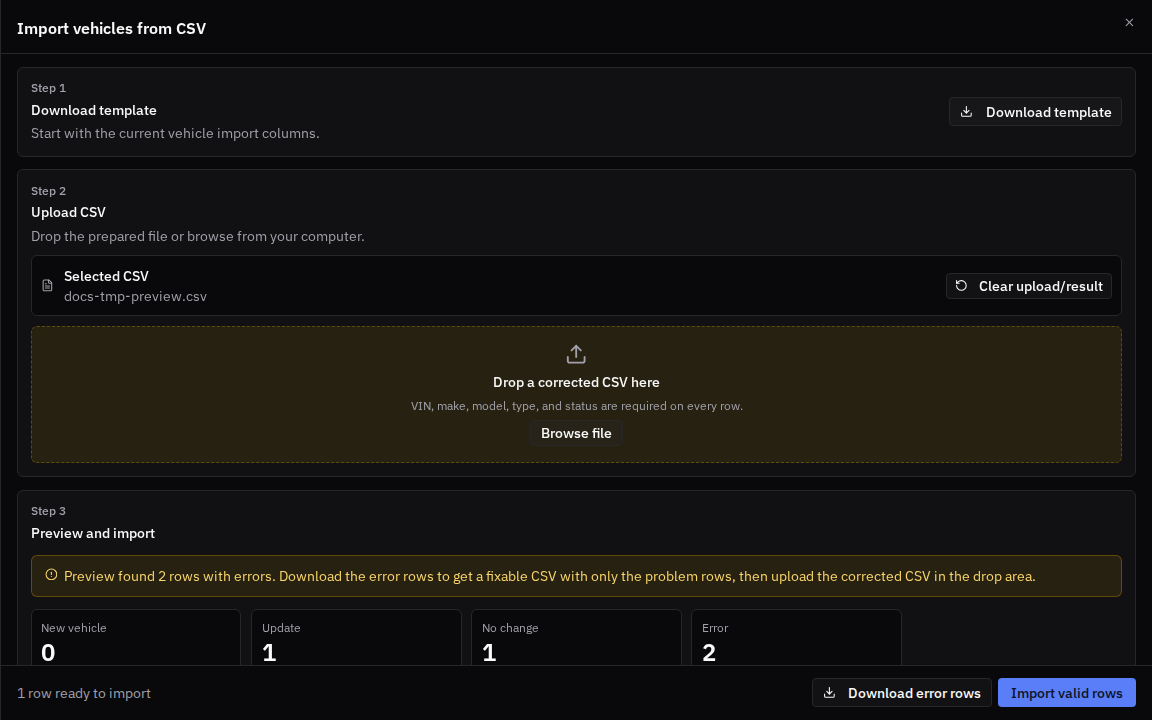
The CSV import doesn't set a vehicle's group — add vehicles to a group separately, as described below.
Organizing vehicles into vehicle groups
Vehicle groups work just like driver groups: a named set of vehicles for fleet segmentation (for example by depot or vehicle class).
-
In the sidebar, go to Vehicle Groups and select Create group, then give it a name.
-
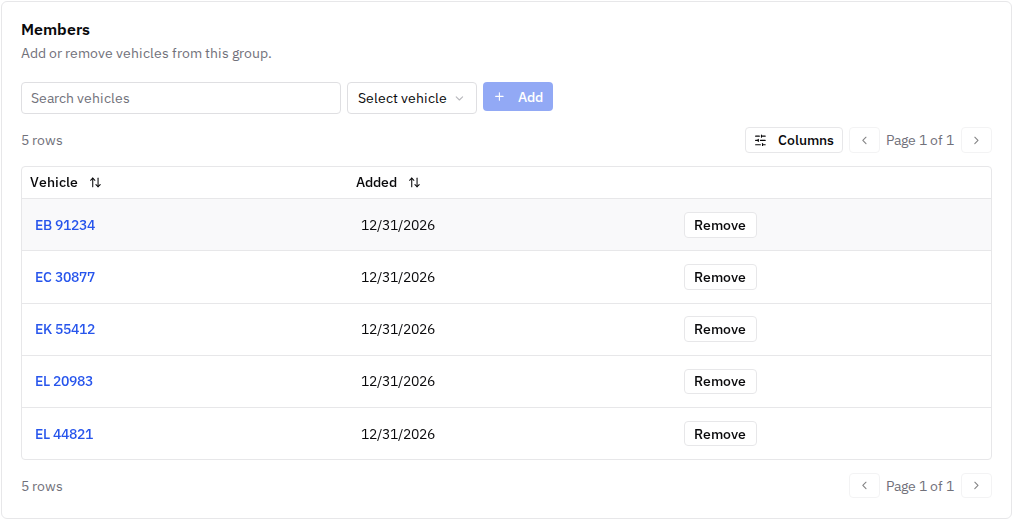
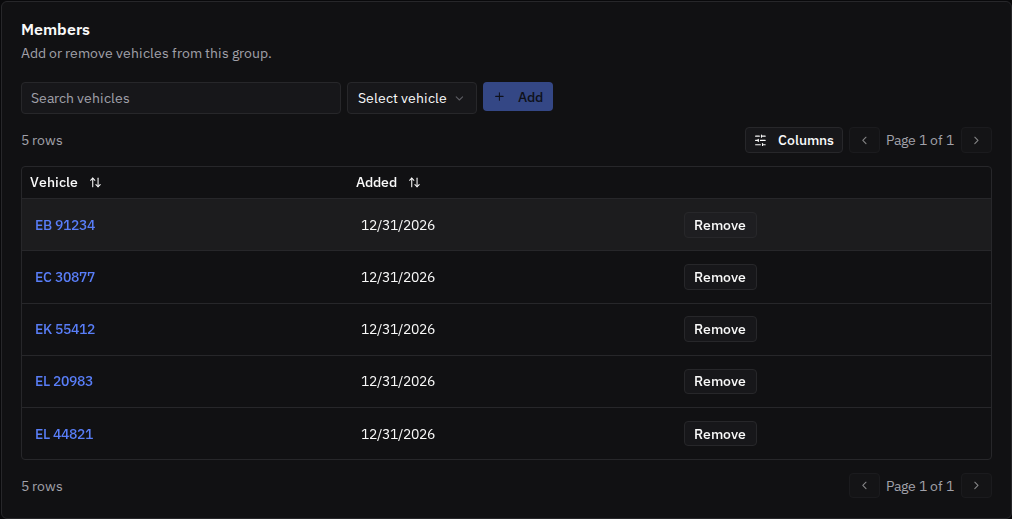
Open the group and, under Members, search for a vehicle, pick it from the dropdown, and select Add. A vehicle can belong to more than one group.
-
To take a vehicle out of a group, select Remove on its row and confirm — you'll see exactly what that changes (the vehicle's fleet segmentation, and any group-based pricing that applies) before you confirm.
Assigning an RFID card to a vehicle
A vehicle can carry its own RFID card instead of relying on a driver's card — useful for pool cars shared across a team. Issue the card from the RFID Tags page and choose Vehicle under Assign to (see the drivers and RFID cards page for the full walkthrough); the card then follows the same tariff, cost center, and access-rule logic as a driver's card.
Good to know
- A vehicle's page doesn't show a charging-sessions history the way a driver's page does — check the assigned RFID tag's own Usage history for that.
- Group membership is managed from the vehicle group's page only, not from the vehicle's own page (which shows the current group as read-only).
- Deleting a vehicle is permanent and immediate — unlike deleting a driver, it isn't a reversible GDPR-style anonymization, since a vehicle record isn't personal data.
- Deleting a vehicle unassigns any RFID card bound to it; an enabled card left unassigned can still authorize a session if your access rules and guest-charging settings allow it, so review the card first if that matters to you.
- The Needs attention count on the Vehicles page reflects vehicles set to Maintenance or Decommissioned.
Common issues
- Symptom: a VIN is rejected when adding or importing a vehicle. Cause: VINs must be 11–17 characters and can't contain the letters I, O, or Q. Fix: double-check the VIN for typos or one of those reserved letters.
- Symptom: a CSV row is rejected in the preview. Cause: VIN, make, model, type, or status is missing — all five are required on every row. Fix: complete the row and re-upload; only valid rows are imported.
- Symptom: you deleted a vehicle and now an RFID card behaves unexpectedly. Cause: the card became unassigned rather than disabled. Fix: check the card on the RFID Tags page and disable or reassign it if it shouldn't still work.
Related pages
Last updated: 2026-07-14 · Verified on: hosted demo app (explorer-2, org "Sandbox Two"), 2026-07-14