Adding a charger
In short: Registering a charger means giving FleetOS its OCPP identity — a charge point ID you choose — plus a few optional details like the site it will live at. FleetOS then generates one-time connection credentials, and once the charger connects it reports its own vendor, model, serial number, and firmware, discovers its connectors, and configures itself automatically.
Prerequisites
- Decide on an OCPP charge point ID for the charger (for example
HYC50-SITE-001). This ID becomes the charger's identity in FleetOS and its connection username. - If the charger already has a destination site, create that site in FleetOS first — otherwise you can register the charger without a site and assign one later.
Registering the charger
-
Go to Chargers and select Register charger.
-
Enter the OCPP charge point ID (required).
-
Optionally set the Site (or leave "No site" — the charger is tracked as an asset in transit), a Custom designation (a friendly name like "Depot north charger"), the Commissioning date, and Notes.
-
Select Register.
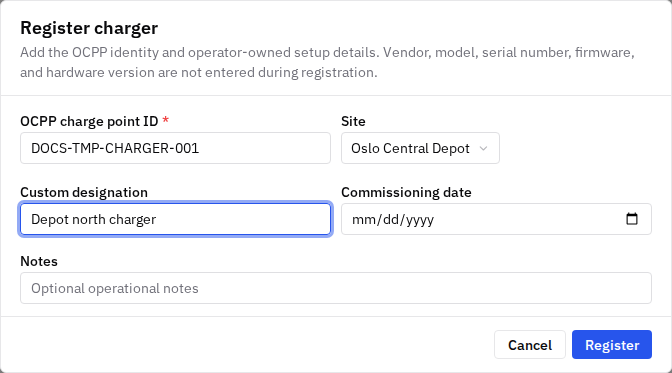
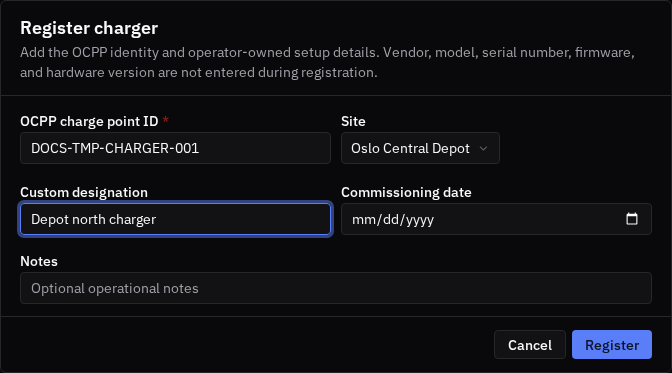
You don't enter the vendor, model, serial number, firmware, or connector layout: the charger reports all of that itself the first time it connects.
Connecting the physical charger
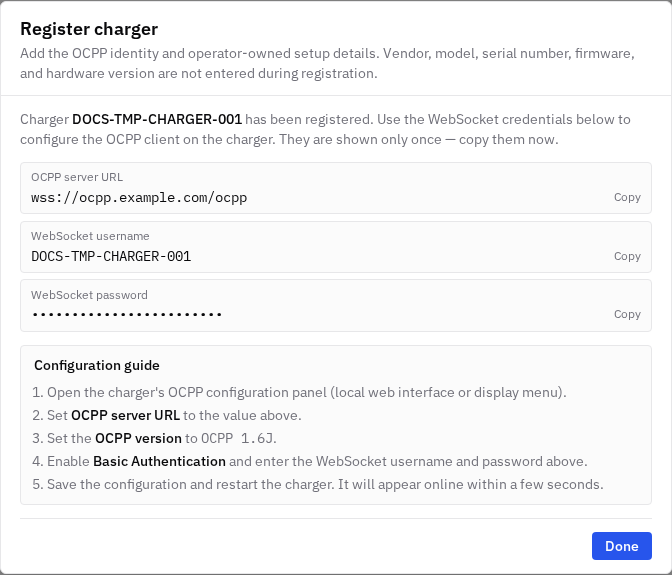
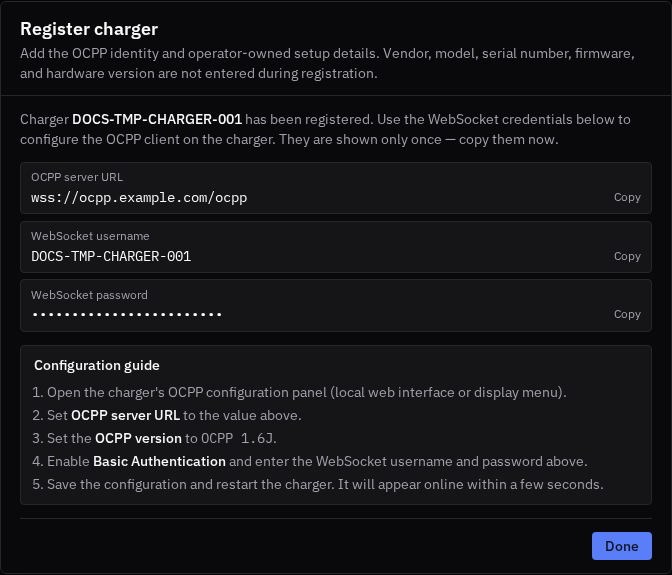
After registering, FleetOS shows the connection credentials — the OCPP server URL, a username (the charge point ID), and a generated password. They are shown only once — copy them right away.
-
Copy the OCPP server URL, username, and password.
-
On the charger (its local web interface or display menu), open the OCPP configuration panel and set the OCPP server URL, set the OCPP version to OCPP 1.6J, enable Basic Authentication, and enter the username and password.
-
Save the configuration and restart the charger. It appears online in FleetOS within a few seconds.
This step is usually done by the installer or a technician on site — you can hand the copied credentials to them.
Zero-touch commissioning
- On first connection, FleetOS reads the charger's identity (vendor, model, serial number, firmware) and discovers its EVSEs and connectors automatically.
- FleetOS then applies a configuration cloned from an existing charger of the same model in your fleet — you don't build a configuration from scratch. If this is the very first charger of that model, it starts blank and is configured once by hand; from then on it becomes the template for future chargers of that model.
- Every commissioning step is recorded in the charger's Audit log (under the Health tab), so you can see when the charger connected and which settings were applied.
Checking the setup and going live
-
Open the charger's Setup tab. The reported identity (vendor, model, serial, firmware) is read-only; fields you own — hardware version, custom designation, notes, commissioning and go-live dates — save automatically as you edit them.
-
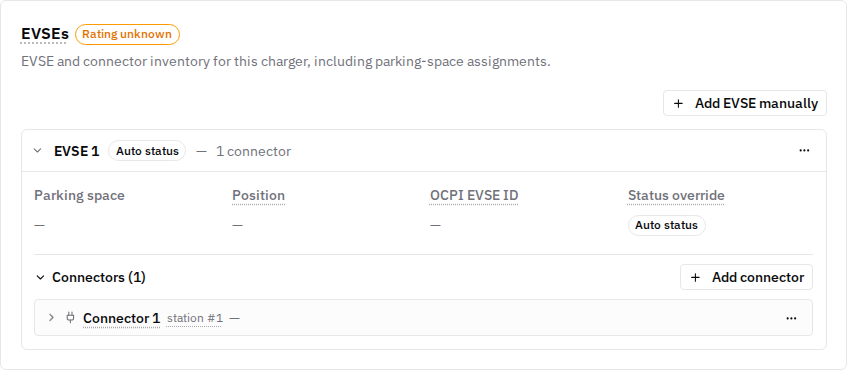
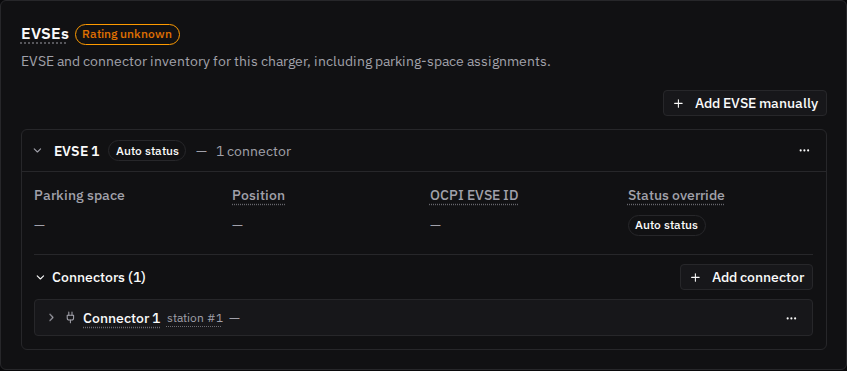
Review the EVSEs section: check the discovered connectors and their power ratings (kW). Fill in a connector's power rating if it's missing — FleetOS uses it as the hardware limit in load management, and warns you while it's unknown.
-
Once the charger is online and verified, it shows as Online in the Chargers list like any other charger.
Good to know
- FleetOS connects to chargers over OCPP 1.6J with Basic Authentication. If your charger supports several OCPP versions, configure it to use 1.6J.
- A charger without a site is shown as "Asset in transit" — useful for chargers still in the warehouse or being relocated. You can assign or move it to a site later from the site's Infrastructure tab.
- Changing a charger's OCPP charge point ID after it's live disconnects any charger still configured with the old identity until it's reconfigured — FleetOS warns you before saving.
- You can rotate a charger's connection password at any time (charger page → Actions → Rotate Password), even while the charger is offline. The new password is shown once and must be entered on the charger manually.
- To retire a charger, use its Setup tab's danger zone: Decommission keeps its history and hides it from the default Chargers list (still findable with "Include decommissioned"); Delete charger permanently erases the charger and all its data and cannot be undone. Decommission is the usual choice; reach for Delete only when you need the data gone.
Common issues
- Symptom: the charger doesn't appear online after entering the credentials. Possible cause: a typo in the server URL, username, or password, wrong OCPP version selected on the charger, or Basic Authentication not enabled. Fix: re-check the charger's OCPP settings against the values FleetOS generated; if the password is lost, rotate it to get a new one. If it still won't connect, contact FleetOS support with the serial number and site.
- Symptom: connectors or power ratings look wrong after first connection. Cause: the charger reports its layout itself, and some models report less than they have. Fix: adjust EVSEs and connectors manually on the Setup tab (Add EVSE / Add connector, set the kW rating).
Related pages
Last updated: 2026-07-14 · Verified on: hosted demo app, 2026-07-14